MyDriveWorks - Tech Tips
Learn more about manipulating Calculation Table data as well as Simple Table data inside DriveWorks Projects.
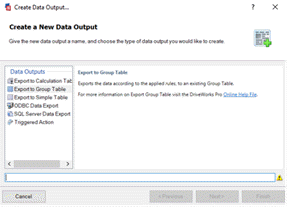
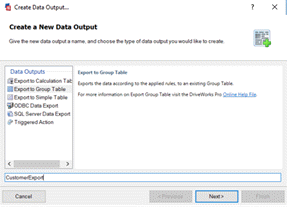
The Export to Group Table will export the data, according to the rules applied, to a Group Table that has been applied to a Group.
The data exported will be available, if required, to any new Specification started once the export has taken place.
Group Tables can have new records inserted or existing records updated by creating an Export to Group Table Document.

Before you begin
When creating an Export to Group Table Document a Group Table must exist in the Group that the export is to take place in.
With your Project open in DriveWorks Administrator go to Stage 4. Output Rules then Documents - Data.


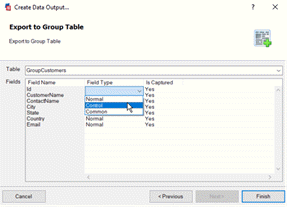
Control Fields determine if a row is inserted, updated, or ignored.
Common Fields can make it easier to export to multiple rows where certain columns always have the same value in each row.
For these columns, you may only want to build one rule, instead of a separate rule for each row. To do this, mark the column as a Common Field, and DriveWorks will automatically use the same rule for the column in all rows.
The wizard will close and the Data Export Rows table will open in the Documents window.
With the Data Export Rows table open in the Documents window:

As with all Documents the automatic release is covered by the Release Documents task. When using the Default Specification Flow this task is applied to the Completed State on the Enter State Event.
A manual release can be applied by having a macro button on the user form and assigning the Release Documents task to a Specification Macro.
Learn more about manipulating Calculation Table data as well as Simple Table data inside DriveWorks Projects.
View all available MyDriveWorks Tech Tips.