MyDriveWorks - Tech Tips
DriveWorks can replace models in a SOLIDWORKS Assembly. These can be static or dynamic, i.e. the replacement can be driven before inserting it into the Assembly.
Instances of the same component within an assembly can be controlled individually to have the state changed, the configuration swapped or the instance replaced with a new component.
This article shows how to replace instances with a new driven replacement model.
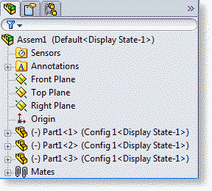
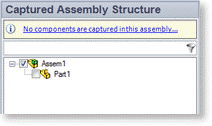
When an assembly contains identical components, with identical names, they are given instance numbers in the SOLIDWORKS feature manager (<1>, <2>, etc.). When viewing the captured assembly structure for the assembly in DriveWorks only the seed component will be available for capture.
This is ideal for assemblies where the instances will always remain identical in every new assembly generated by DriveWorks.
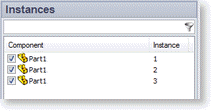
When each instance is to be driven independently the seed component should not be captured as a child of the assembly. Instead each instance should be captured using the Instances feature.
When driving the configuration or state of each instance this is all that is required as far as capturing is concerned. But when the instance is to be swapped with a new component a component and it's parameters that are to be controlled must be captured outside of the assembly.
An assembly ( Assem1.sldasm) contains 3 instances of the same part ( Part1.sldprt). These parts are driven to different sizes each time a specification is made.
The structure of the assembly in the SOLIDWORKS feature manager looks like this:
To set up this assembly to control the instances individually:

With all the capturing done we are now ready to add the components to the project in DriveWorks Administrator.
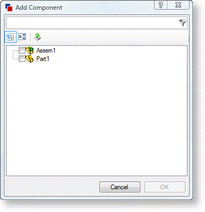
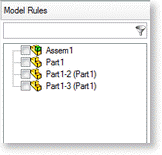
DriveWorks will automatically rename each other occurrence -2, -3, etc. in the Model Rules section. Only the reference to the occurrence is changed, this does not rename the actual SOLIDWORKS file.
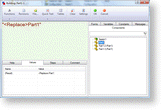
With all the components added, rules can be built that will enable each instance to be swapped with a new driven component.
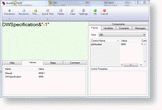

The final step is to ensure the components are generated in the correct order.
Models are built in the order they appear in the model list. When an assembly is found DriveWorks will generate all base level children first and work up to the top level parent.
The use of driven replacement models to replace instances in an assembly dictates that the replacement models should always be generated (if required) before the assembly they are to be replaced into.
If the model list shows the Assem1 at the top:
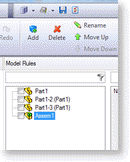
You now have all the information required to successfully replace instances of the same component with new files that are different.
The <Replace> function in DriveWorks removes the need to know the File Name result of the replacement model.
When a rule is applied to the file name parameter of a component, selecting that component from the components tab of the rule builder will automatically use the file created.
DriveWorks can replace models in a SOLIDWORKS Assembly. These can be static or dynamic, i.e. the replacement can be driven before inserting it into the Assembly.
View all available MyDriveWorks Tech Tips.
| Knowledge Base Article Ref: | KB12121033 |
|---|